WhatsApp Business API | Integration with Calendly
Hi there!
Are you looking for a way to send event notifications to your invitees via WhatsApp? Thanks to the tyntec Conversations API, you can do exactly that and more by integrating Calendly with WhatsApp Business.
You will need
- Your tyntec API key from your tyntec account.
- Your WABA phone number that has been assigned to you by tyntec.
- A mobile phone with the WhatsApp application not associated with your WABA.
- A WhatsApp message template.
- Your Calendly access token for a paid premium subscription and above.
- Node.js installed.
- An ngrok account and the binary installed.
Step One: Get your Calendly app ready
We’ve prepared a sample Node.js app for your quick start with Calendly integration. Let’s look at what the code does:
1. Clone the api-samples repository and go to the wa-integrations/calendly directory.
2. Install dependencies:
npm install
3. Get your Calendly Access token.
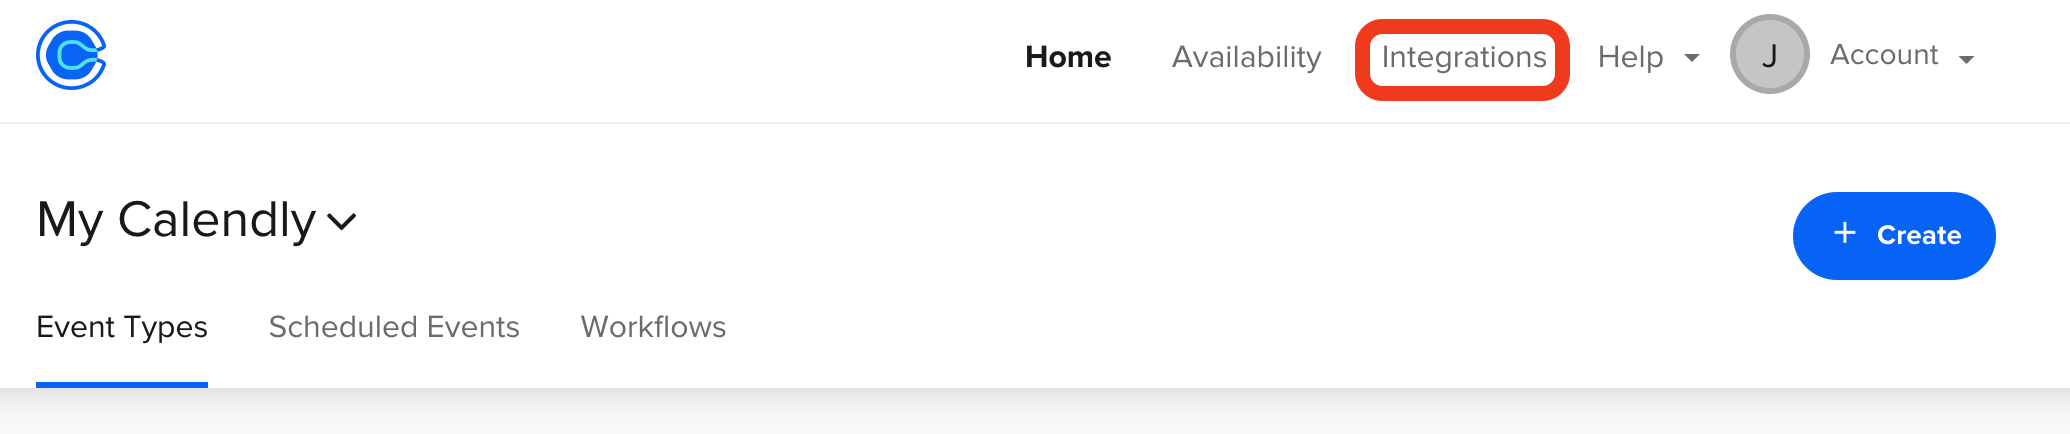
a. Go to your Calendly dashboard and select Integrations.
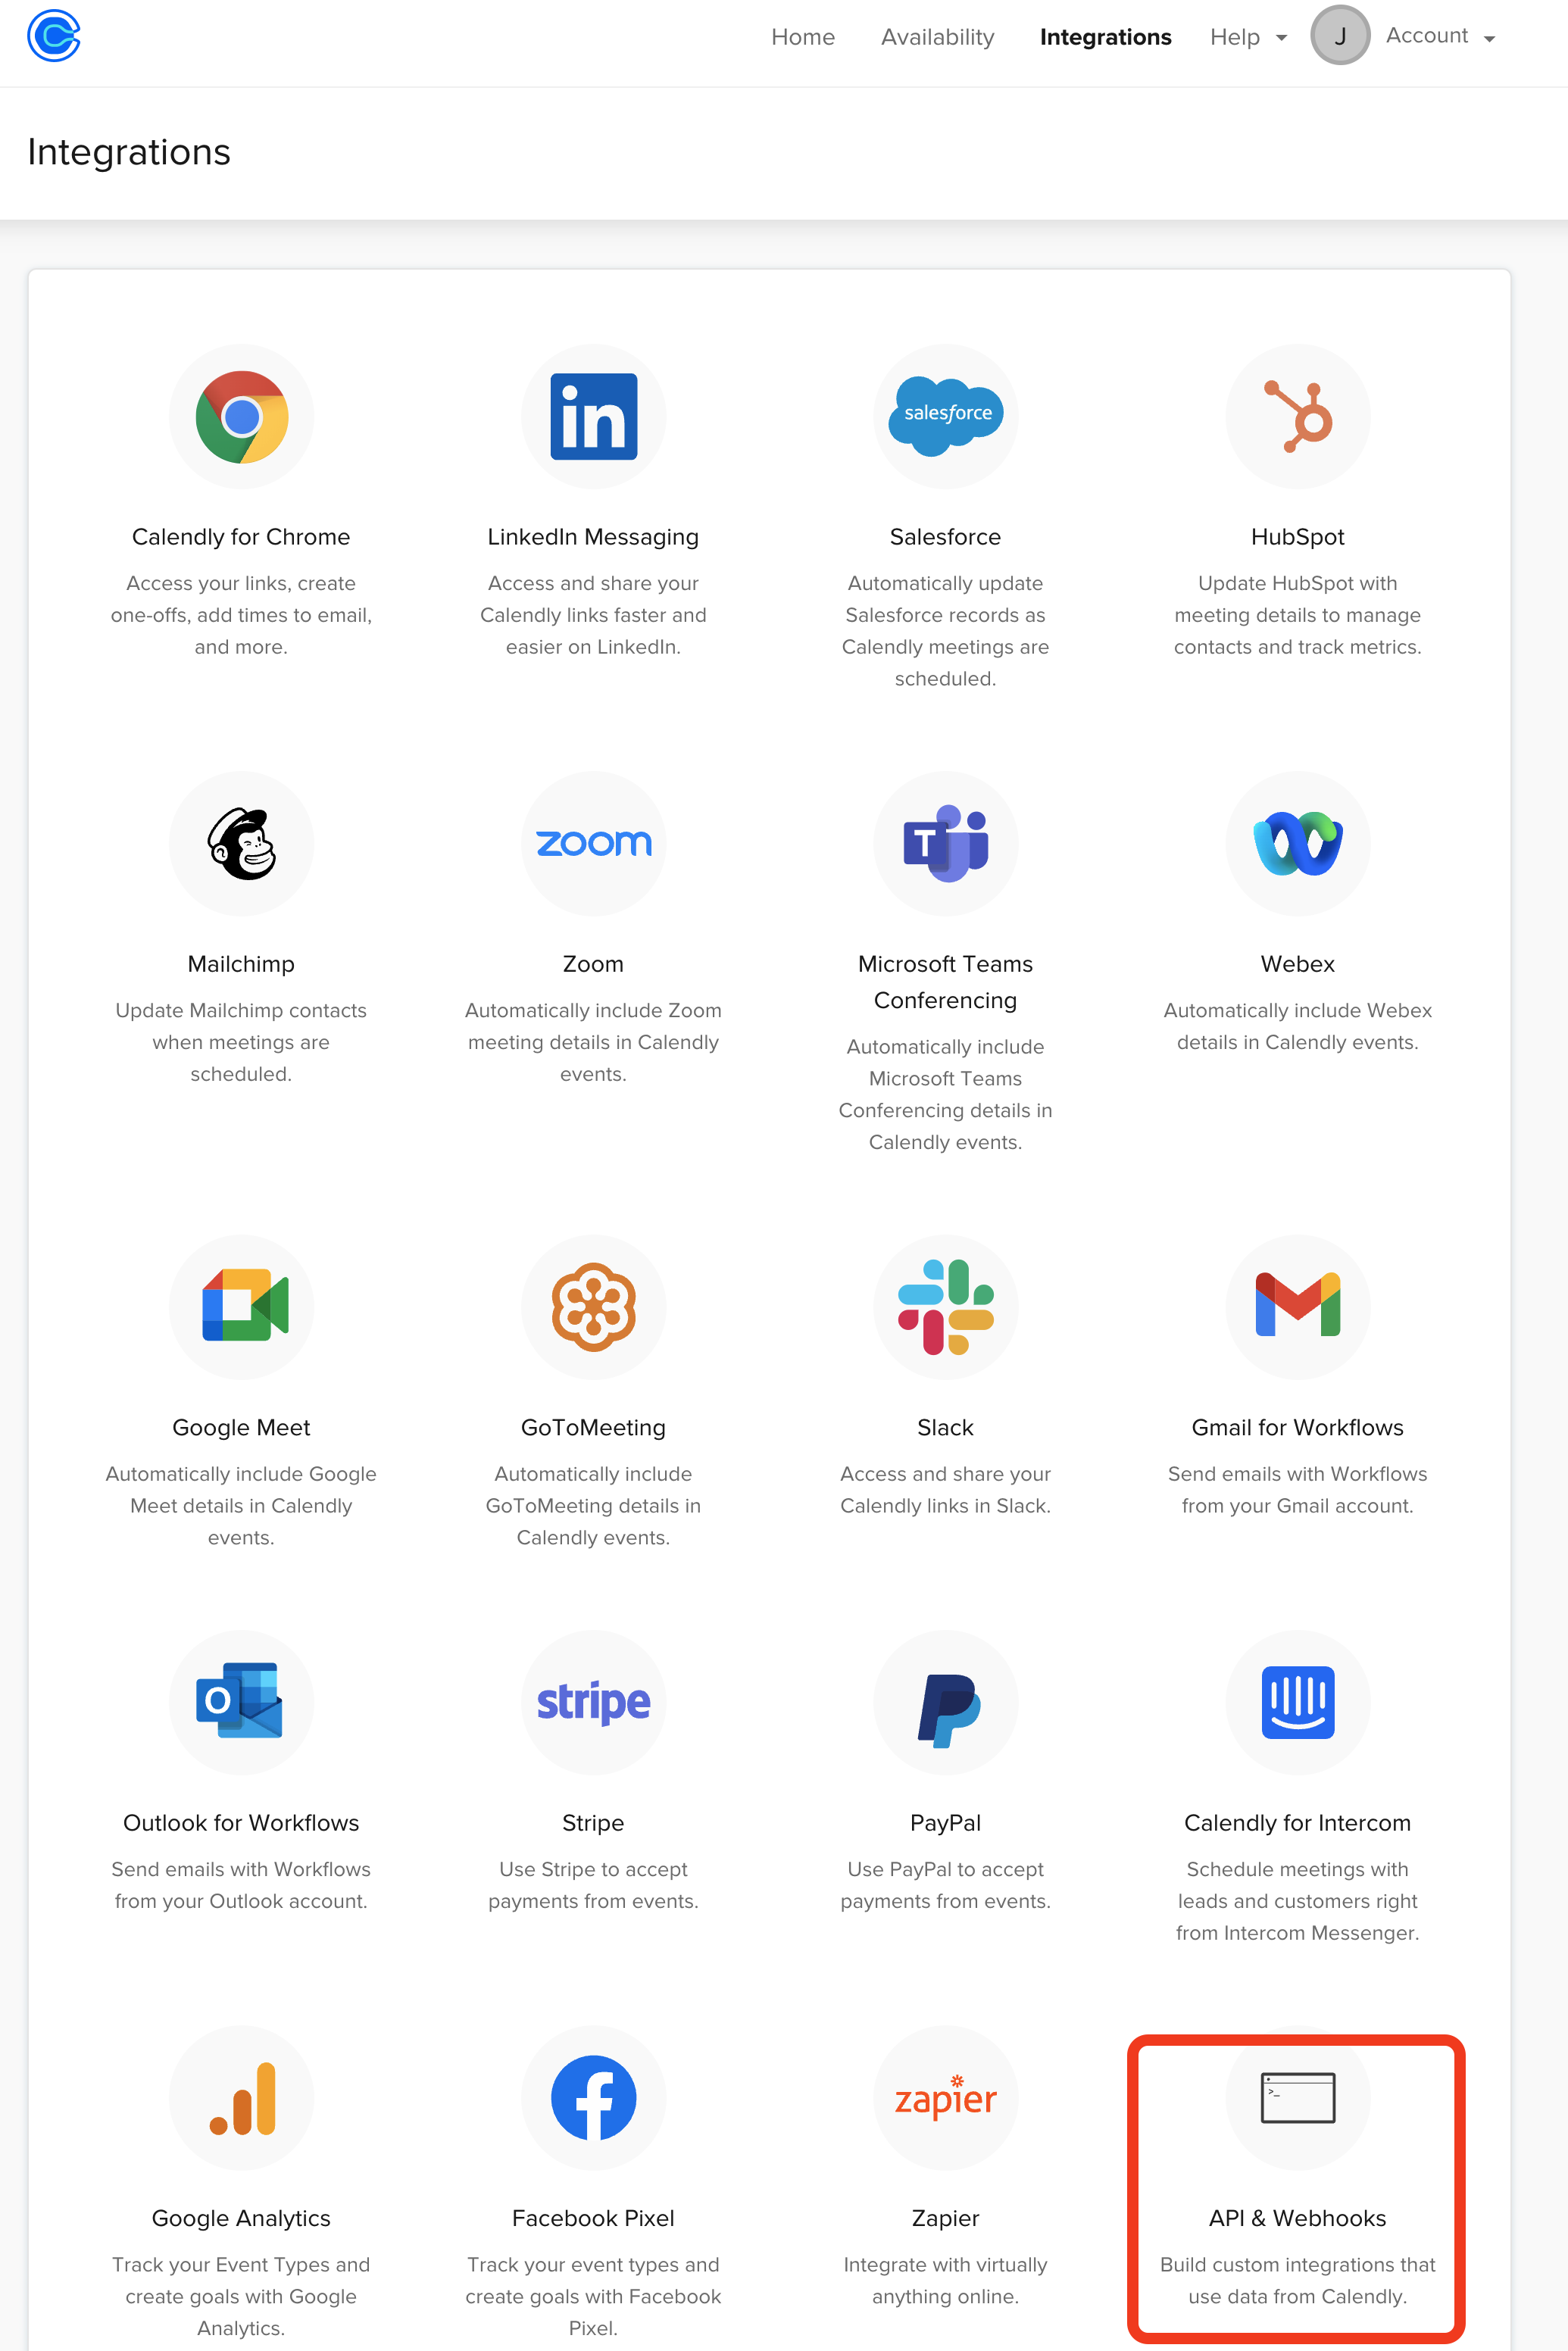
b. Select API & Webhooks and create your own access token.
4. Copy the file .env-example to .env.
5. Fill the template with your data.
- `CALENDLY_TOKEN` – Your Calendly access token.
- `FROM` – Your WABA Number.
- `PORT` (optional) – Start an HTTP server listening for connections on the given port. Defaults to 3000.
- `TYNTEC_API_KEY` – Your tyntec API key.
- `WHATSAPP_TEMPLATE_ID` – The ID of your WhatsApp template.
- `WHATSAPP_TEMPLATE_LANG` – A chosen language of your WhatsApp template. Two: Add WhatsApp notifications
Your WhatsApp template should have these parameters:
- inform you that an invitee has booked an event (e.g. “Reminder: {{1}} at {{2}}.”) with two variables in the body:
- the event name (e.g. “15 Minute meeting”)
- the moment the event was scheduled to start in UTC time (e.g. “2020-01-02T03:04:05.678Z”)
6. Run ngrok in a terminal to expose your local server on the internet:
path/to/ngrok http 3000
7. Copy the HTTPS address. You will need it later.
Step Two: Set up your Calendly webhook
1. Open your Postman and use this endpoint. Create Webhook Subscription.
a. For this endpoint you will need to get organization and user parameters. To get this information, use this endpoint.
curl --request POST \
  --url https://api.calendly.com/webhook_subscriptions \
  --header 'Authorization: ' \
  --header 'Content-Type: application/json' \
  --data '{
  "url": "https://blah.foo/bar",
  "events": [
    "invitee.created",
    "invitee.canceled"
  ],
  "organization": "https://api.calendly.com/organizations/AAAAAAAAAAAAAAAA",
  "user": "https://api.calendly.com/users/BBBBBBBBBBBBBBBB",
  "scope": "user",
  "signing_key": "5mEzn9C-I28UtwOjZJtFoob0sAAFZ95GbZkqj4y3i0I"
}'
Did you get answer 201 (Created)? Perfect. It’s all set.
Step three: Test your app
The sample app will receive a notification about the creation of a new meeting and will send a notification to the invitee. Now, it’s time to try it out:
1. Start by running your server. Go to the terminal and navigate to your calendly folder.
2.Inside your Calendly folder, run the following command to start the server:
npm start
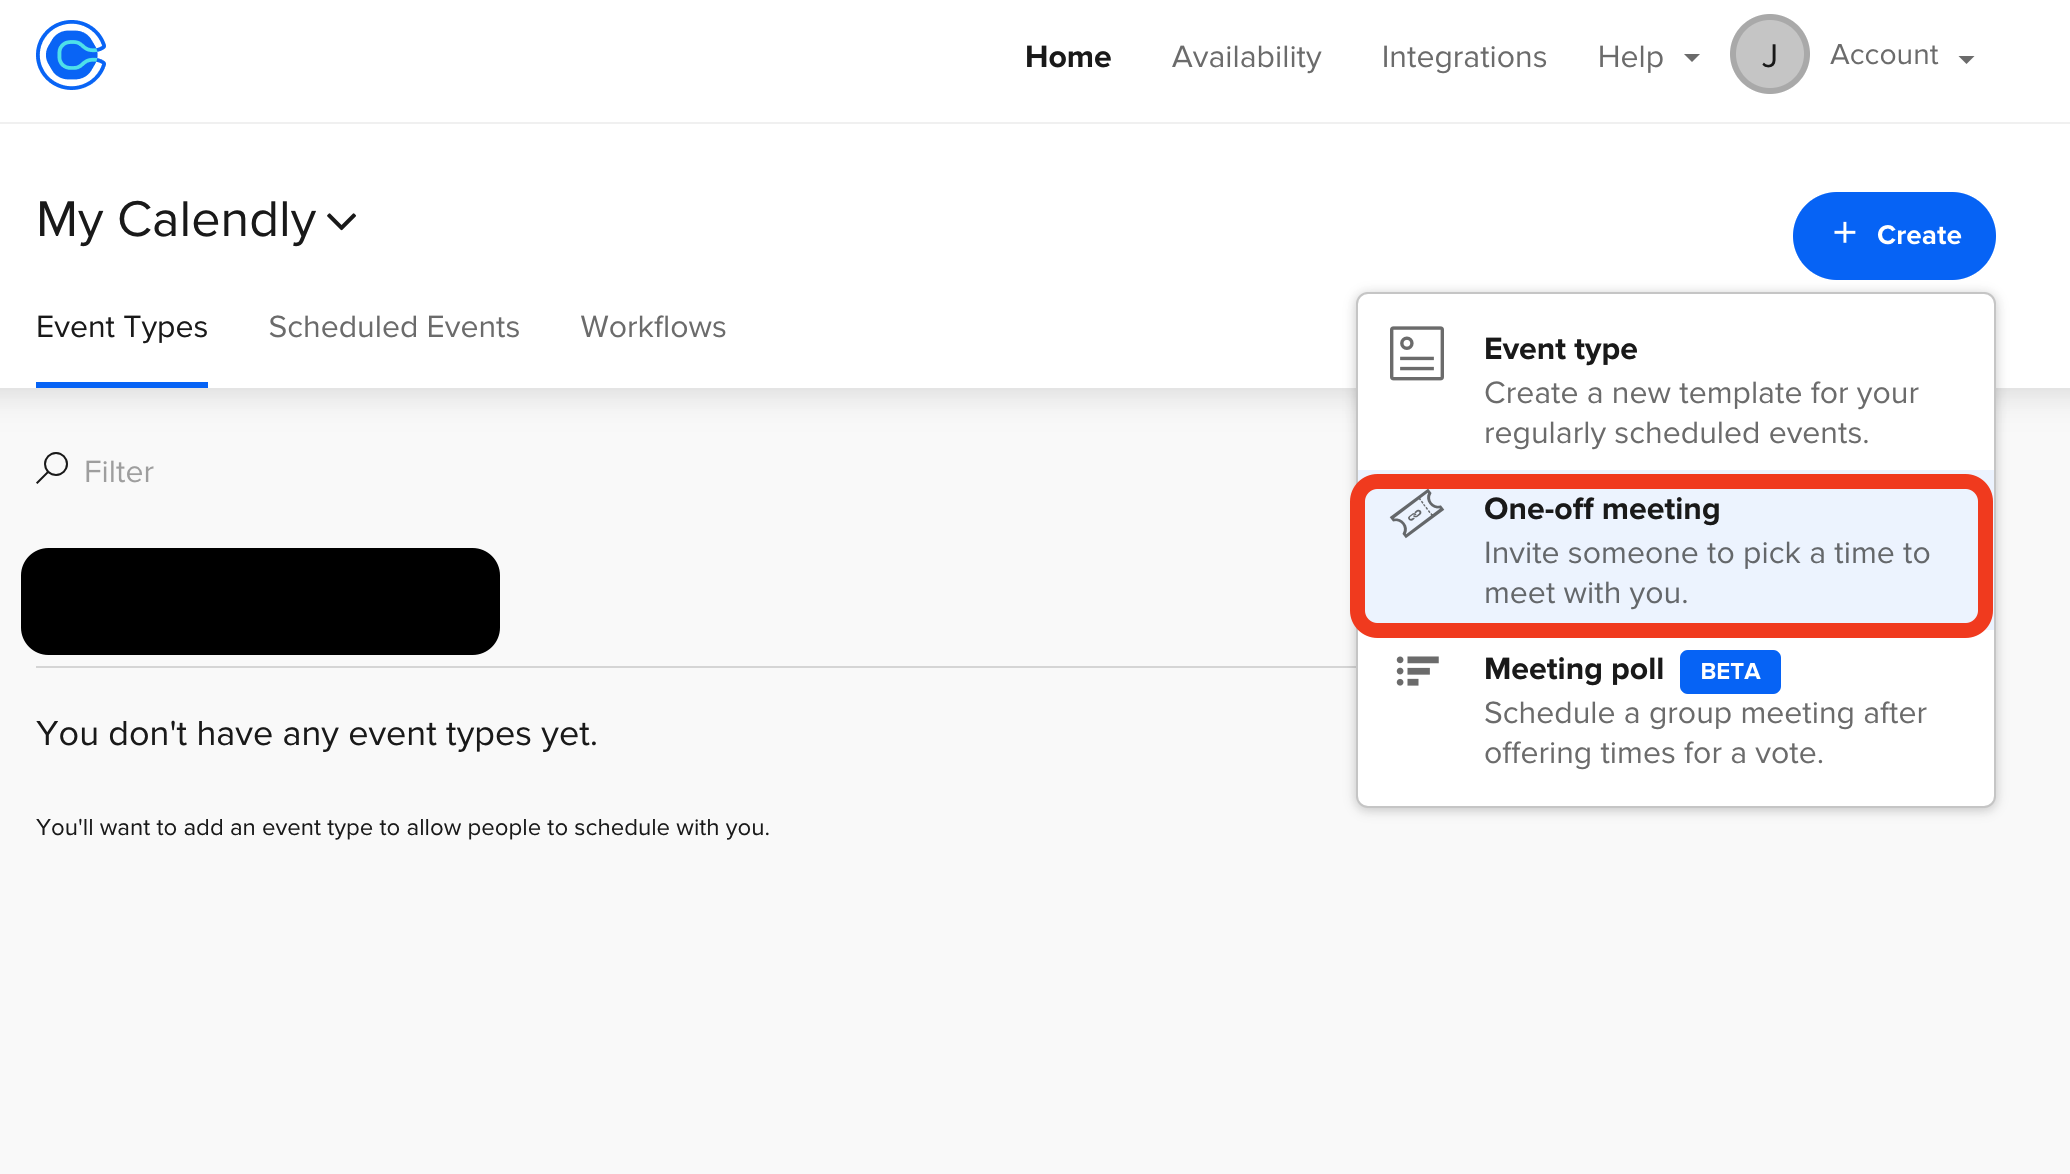
3. Go to your Calendly dashboard and create a new One-off meeting.
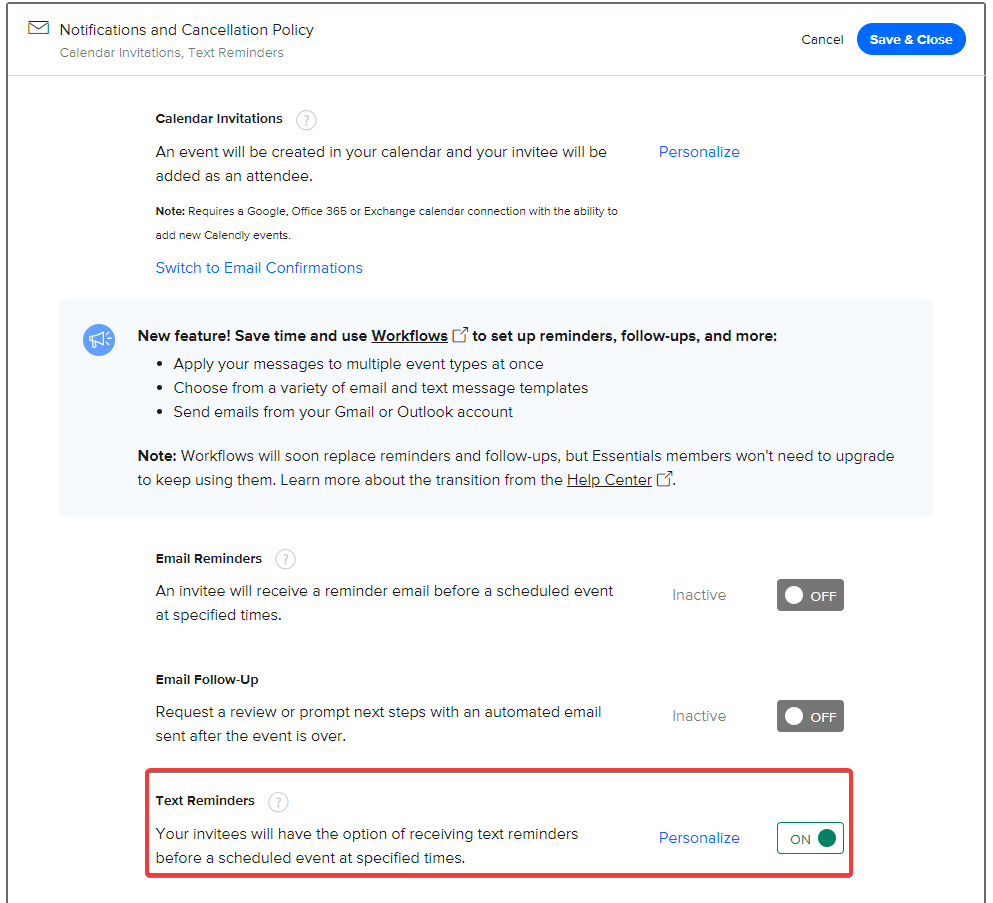
4. Once the one-off meeting is created, click on the dashboard to just book the meeting. We still need to set up sending notifications. On the Notifications and Cancellation Policy tab, select Text Reminders and enable it.
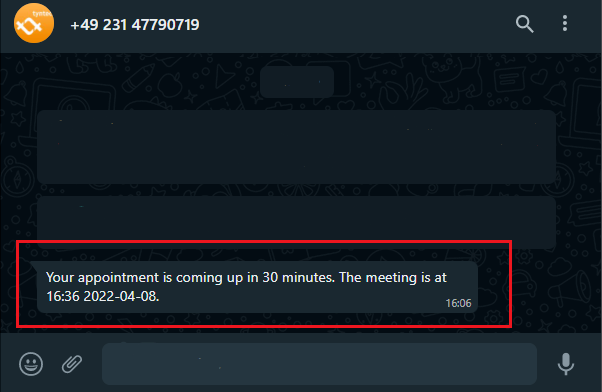
5. Everything is now ready. Try to create a meeting request and you shut see that after entering your phone number you will receive a message on your WhatsApp.
More?
The Calendly and WhatsApp integration can support much more. For example, there are options to send notifications when the event has been canceled or changed.