WhatsApp Business API | Integration with Cognigy.AI
Hi there!
In this tutorial, you will learn how to integrate a simple Cognigy.AI agent with the WhatsApp channel in Conversations API. This integration allows your agent to receive WhatsApp messages and reply to them with ease.
You will need
-
- Your tyntec API key from your tyntec account
-
- Your WABA phone number that has been assigned to you by tyntec
-
- A mobile phone with the WhatsApp application not associated with your WABA
-
- Postman installed
Step One: Create a virtual agent
Let’s create artificial intelligence!
1. Sign in to your Cognigy.AI account.
2. Click Create Agent on the top-left.
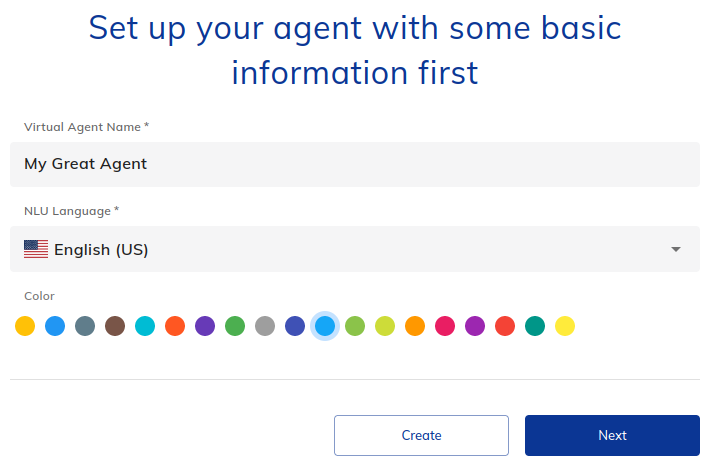
3. Give your agent a name and select English (US) as its primary language (NLU Language) and click Next.
4. Select the Blank template and click Next.
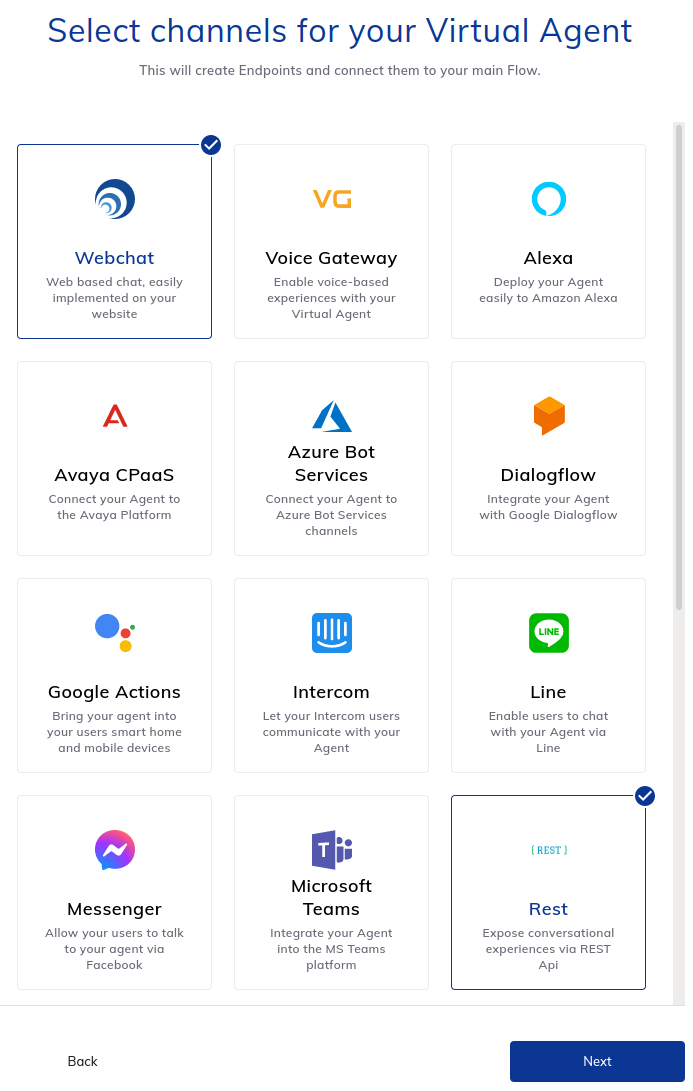
5. Select the Webchat and Rest channels and click Next.
6. Do not select any skills and click Create.
7. Click Go to Agent.
You’ve created a bot that is designed to automatically handle interactions.
Step Two: Design a flow
Now, you will set up a simple agent logic that responds to incoming WhatsApp messages with a custom reply.
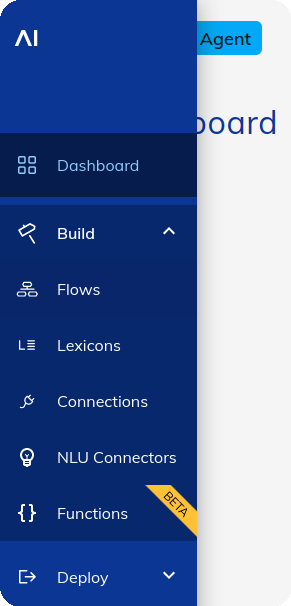
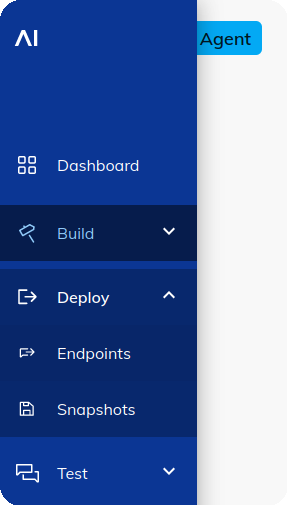
1. Open the Build menu on the left-hand sidebar and select Flows.
2. Click New Flow.
3. Give your flow a name and click Save.
4. Click the plus-icon between the Start and the End node and select the Say node.
5. Click the inserted Say node.
6. Enter your agent’s response text to the Text field and click Save Node.
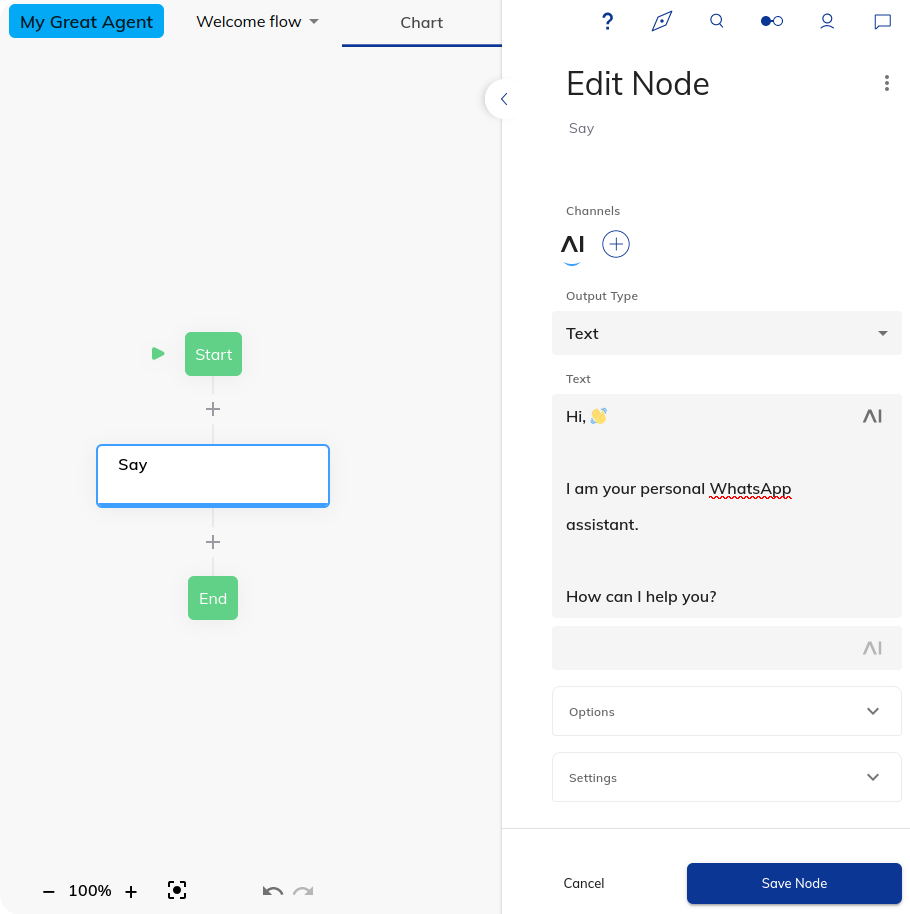
Congratulations. Now, your agent can reply with a warm message to your customers.
Step Three: Set up the endpoint
Now, you are going to configure the agent’s endpoint so that it can accept and send WhatsApp messages.
1. Open the Deploy menu on the left-hand sidebar and select Endpoints.
2. Click the Rest endpoint.
3. Set your flow in the Flow field.
4. Copy the endpoint URL in the Endpoint URL field. You will need it later in Step Four.
5. Click the Transformer Functions expansion panel.
6. Enable all the transformer settings.
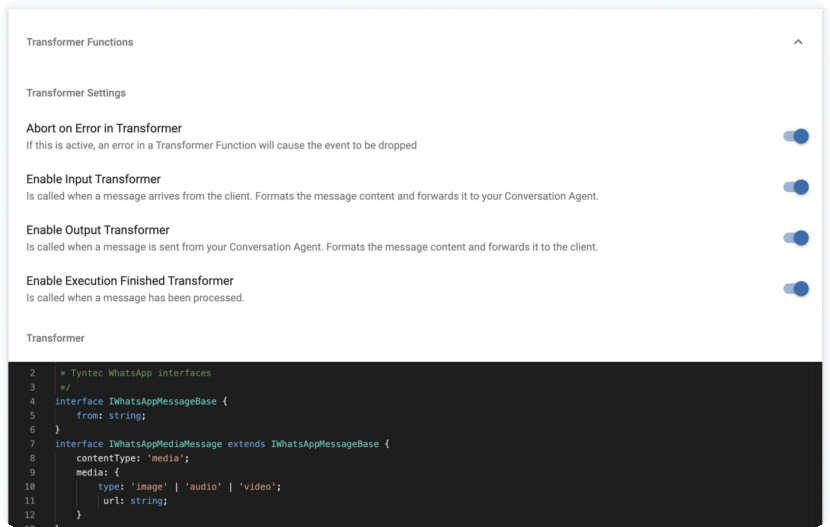
7. Set Transformer to the following code. Replace APIKEY with your tyntec API key and WABA with your WABA phone number
createRestTransformer({
	handleInput: async ({ endpoint, request, response }) => {
		return {
			userId: request.body.from,
			sessionId: JSON.stringify([request.body.from, request.body.to]),
			text: undefined,
			data: request.body.content
		};
	},
	handleOutput: async ({ output, endpoint, userId, sessionId }) => {
		return output;
	},
	handleExecutionFinished: async ({ processedOutput, outputs, userId, sessionId, endpoint, response }) => {
		return await httpRequest({
			uri: "https://api.tyntec.com/conversations/v3/messages",
			method: "POST",
			headers : {
				'Content-Type':'application/json',
				'Accept':'application/json',
				'apikey': APIKEY  // replace APIKEY with your tyntec API key
			},
			body: {
				"to": userId,
				"from": WABA,  // replace WABA with your WABA phone number
				"channel" : "whatsapp",
				"content" : {
					"contentType": "text",
					"text": processedOutput.text
				}
			},
			json: true
		});
	}
});
Everything is up and running. Good job!
Step Four: Let the Conversations API know about your agent
Let the tyntec Conversations API know where to deliver WhatsApp messages from customers or your users. You’re going to subscribe to the agent’s endpoint via an API call in Postman.
1. From the api-collection/conversations/v3 directory, import the Conversations V3.5.postman_collection.json into Postman.
2. Authorize Postman with your tyntec API key and your WABA phone number. Right-click the collection and select Edit. Then go to Variables and set the apiKey variable to your tyntec API key. Also, set the wabaNumber variable to your WABA phone number.
3. Let’s set up a webhook! Open the WhatsApp folder. Inside, open the Configurations folder and select the Configure the callback for a specific number request and change the inboundMessageUrl in the body to the agent’s endpoint URL (for example, https://endpoint-trial.cognigy.ai/4cc724847b66e4a3af5aa3bb555ed9595a1e09a5be496358976afa16efc070b3). This request will subscribe the URL to incoming message events.
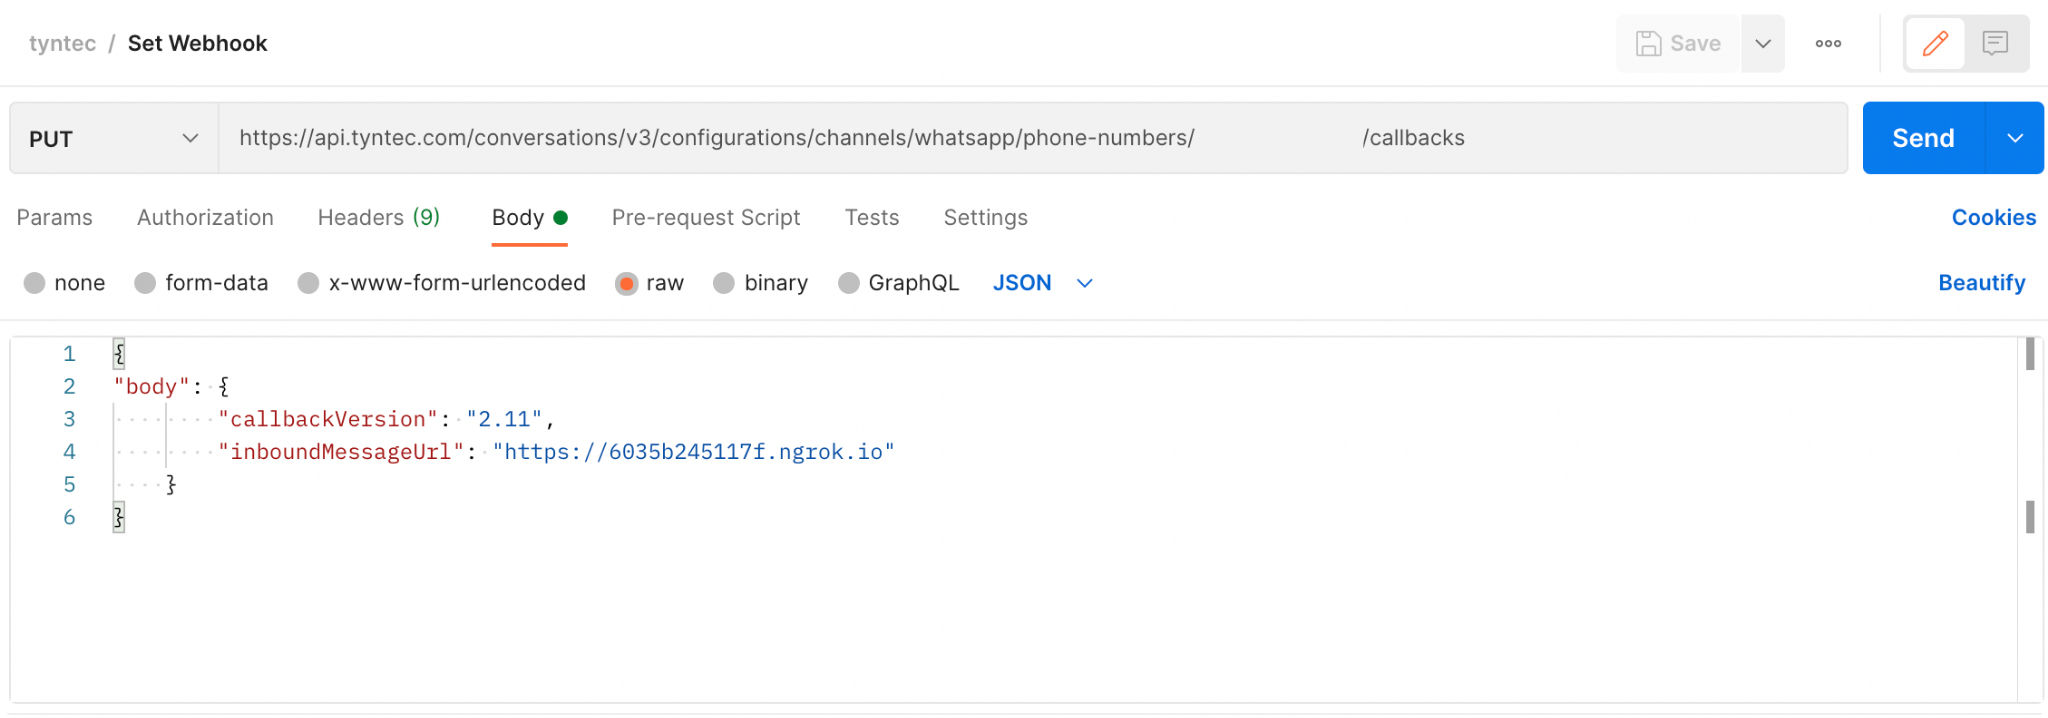
4. Hit the Send button. You should receive a 2xx status in the response if everything is okay.
Cool! Now Conversations API knows where to deliver WhatsApp messages from your customers.
Step Five: Test your agent
Nothing more is needed to publish your agent through WhatsApp.
1. Write a message to your tyntec number using WhatsApp and wait for the Cognigy.AI response.
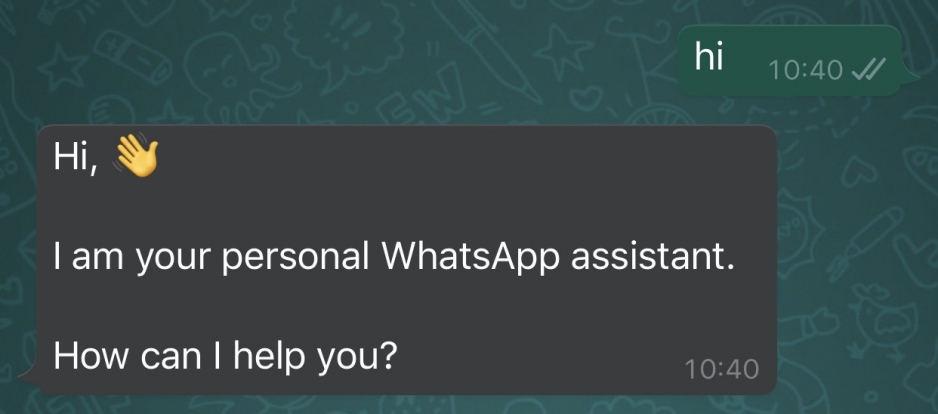
Cool! Your new Cognigy agent can talk to anyone via WhatsApp!
More?
Utilizing Cognigy’s platform you can make your agent smarter. Look at the official Train your Virtual Agent to recognize Intents tutorial and configure your responses. For example, you may want to update the Say node with a snappy meme using an image message or with a funny cat video using a video message. Moreover, you can use the Say node Text with Buttons in cooperation with WhatsApp interactive messages.
To protect the agent’s endpoint against unauthorized messages, you may register the webhook with a custom header containing a bearer token. Then, you can check the request headers in the transformer’s handleInput function and throw an error if the request does not contain the token.