Building a Two-Way WhatsApp Business Interaction
Hi there! In this tutorial, you will learn to build an app which will be able to handle two-way WhatsApp Business interaction with a customer: collect opt-ins, initiate a conversation using a message template, receive a response and follow up with a free-form message, all programmatically.
Instead of an administration interface, you are going to use your existing email, which will also substitute a database. Consider the following scenario:
- A customer opts in through a web form
- You receive the opt-in in your incoming email
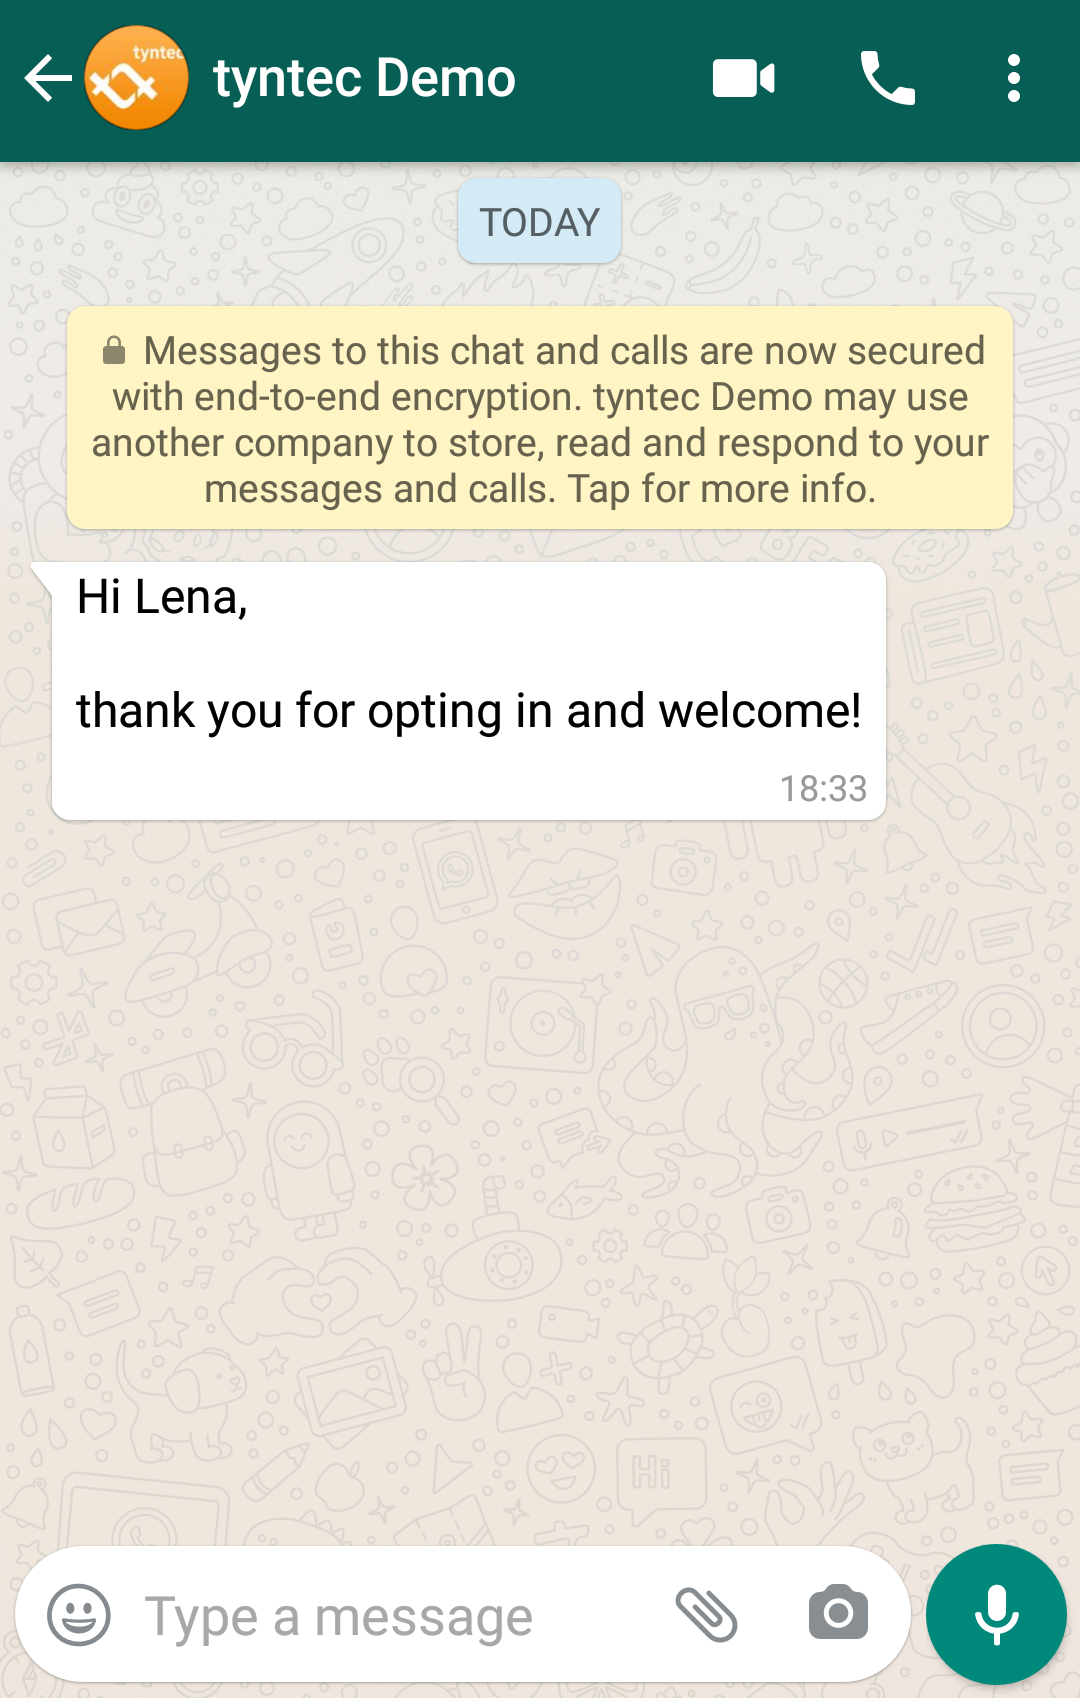
- Your app sends a template message (welcome) to the customer on opt-in submission
- The customer sends a message
- You receive the message in your incoming email
- [Within 24 hours from the last message] You send a free-form response through your outgoing email
We have prepared an easy-to-use app tyntec-mail-demo, which you’re going to use in this tutorial to bridge your email with the tyntec Chat API.
You should use two email accounts – a service email that will only transport the outgoing email, and an admin email that you will use directly to receive opt-ins and messages and to reply to them. If you used only a single email account, you would also receive your own replies, which isn’t very friendly.
You will need
- A mobile phone with the WhatsApp application and a working phone number as a testing customer
- Your tyntec API key from your tyntec account
- Your WABA phone number that has been assigned to you by tyntec
- Two email accounts to which you have access
- Your favourite text editor or IDE with JavaScript highlighting
Step One: Get your environment ready
First, you’re going to prepare your development environment.
1. You need to install a couple of tools (unless you’ve got them already):
- Download and install Postman.
- Get an ngrok account, download the binary and install it.
- Download and install Node.js.
You will be building your code gradually, so add nodemon Node.js tool from a terminal globally:
<div class="geshifilter"><pre class="php geshifilter-php">sudo npm install <span class="sy0">-</span>g nodemon</pre></div>When you run your app with nodemon instead of node, it will watch the changes for you and restart your app automatically.
2. You will be using a prepared demo code base. So clone our apps:
- webhook-starter (with which we’ve already played in our Receiving Messages Tutorial) and
- tyntec-mail-demo.
Make a new directory for your project and copy server.js from the webhook-starter and the api directory from the tyntec-mail-demo. In the new directory, install required modules for your project:
<div class="geshifilter"><pre class="php geshifilter-php">npm install express body<span class="sy0">-</span>parser axios imap<span class="sy0">-</span>simple mailparser nodemailer</pre></div>3. Tunnel a local port with ngrok, so your local computer is exposed on the internet and tyntec can call your webhook.
Set your ngrok authtoken, which you will find in your ngrok dashboard > Auth under Your Tunnel Authtoken.
Then you can launch ngrok with your local port number, such as:
<div class="geshifilter"><pre class="php geshifilter-php">ngrok http <span class="nu0">3000</span></pre></div>4. Ngrok will display generated addresses that are publicly accessible, such as: https://ab12c3de.ngrok.io. You will use them later to configure callback URLs in the tyntec API.
Set your server.js to listen on the same port:
<div class="geshifilter"><pre class="php geshifilter-php"><span class="kw2">var</span> listener <span class="sy0">=</span> app<span class="sy0">.</span>listen<span class="br0">(</span><span class="nu0">3000</span><span class="sy0">,</span> <span class="kw2">function</span> <span class="br0">(</span><span class="br0">)</span> <span class="br0">{</span>
  console<span class="sy0">.</span><a href="http://www.php.net/log"><span class="kw3">log</span></a><span class="br0">(</span><span class="st_h">'Your app is listening on port '</span>
              <span class="sy0">+</span> listener<span class="sy0">.</span>address<span class="br0">(</span><span class="br0">)</span><span class="sy0">.</span>port<span class="br0">)</span><span class="sy0">;</span>
<span class="br0">}</span><span class="br0">)</span><span class="sy0">;</span></pre></div>
5. Let’s check if the tunnel is working!
Run server.js with nodemon in another terminal:
<div class="geshifilter"><pre class="php geshifilter-php">nodemon server<span class="sy0">.</span>js</pre></div>When you go to your ngrok address from your browser, you should see the response generated by server.js.
6. Now do a little cleanup of server.js to have a nice skeleton for coding.
Remove all routes (app.get() and app.post()) and the variables used by them, you won’t be needing those. You should have something like this:
<div class="geshifilter"><pre class="php geshifilter-php"><span class="kw2">const</span> express <span class="sy0">=</span> <span class="kw1">require</span><span class="br0">(</span><span class="st_h">'express'</span><span class="br0">)</span>
  <span class="sy0">,</span> bodyParser <span class="sy0">=</span> <span class="kw1">require</span><span class="br0">(</span><span class="st_h">'body-parser'</span><span class="br0">)</span>
  <span class="co1">//// You will be adding new requires here.</span>
  <span class="sy0">;</span>

<span class="kw2">var</span> app <span class="sy0">=</span> express<span class="br0">(</span><span class="br0">)</span><span class="sy0">;</span>

app<span class="sy0">.</span><span class="kw2">use</span><span class="br0">(</span>bodyParser<span class="sy0">.</span>urlencoded<span class="br0">(</span><span class="br0">{</span>extended<span class="sy0">:</span> <span class="kw4">false</span><span class="br0">}</span><span class="br0">)</span><span class="br0">)</span><span class="sy0">;</span>
app<span class="sy0">.</span><span class="kw2">use</span><span class="br0">(</span>bodyParser<span class="sy0">.</span>json<span class="br0">(</span><span class="br0">)</span><span class="br0">)</span>

<span class="co1">//// You will be adding new routes here.</span>

<span class="kw2">var</span> listener <span class="sy0">=</span> app<span class="sy0">.</span>listen<span class="br0">(</span><span class="nu0">3000</span><span class="sy0">,</span> <span class="kw2">function</span> <span class="br0">(</span><span class="br0">)</span> <span class="br0">{</span>
  console<span class="sy0">.</span><a href="http://www.php.net/log"><span class="kw3">log</span></a><span class="br0">(</span><span class="st_h">'Your app is listening on port '</span>
              <span class="sy0">+</span> listener<span class="sy0">.</span>address<span class="br0">(</span><span class="br0">)</span><span class="sy0">.</span>port<span class="br0">)</span><span class="sy0">;</span>
<span class="br0">}</span><span class="br0">)</span><span class="sy0">;</span></pre></div>
7. Last but not least, set environment variables in your OS used by the tyntec-mail-demo scripts:
- IMAP_HOST – the IMAP server of your service email account, for example: imap.example.com
- IMAP_PORT – the IMAP port on the server, for example: 993
- SMTP_HOST – the SMTP server of your admin email account, for example: smtp.example.com
- SMTP_PORT – the SMTP port on this server, for example: 465
- ADMIN_EMAIL – your admin email address
- ADMIN_PASSWORD – your admin email password
- EMAIL – your service email address
- API_KEY – your tyntec API key
- WABA_NUMBER – your WABA number
Step Two: Collect an opt-in
Let’s code! Start by creating a form, serving it and routing form submissions.
Important: Remember to follow the guidelines on Getting Opt-ins!
1. Create a simple HTML file index.html that will provide an opt-in form.
Save the file, the WhatsApp logo and styles to a new directory, which will contain static files, such as static.
For our demo app, the form will gather two input parameters: name of the customer and their phone number.
The form part should look like this:
<div class="geshifilter"><pre class="php geshifilter-php"><span class="sy0"><</span>form action<span class="sy0">=</span><span class="st0">"/optin"</span> method<span class="sy0">=</span><span class="st0">"post"</span><span class="sy0">></span>
      <span class="sy0"><</span>p<span class="sy0">><</span>img id<span class="sy0">=</span><span class="st0">"wa-logo"</span> src<span class="sy0">=</span><span class="st0">"WhatsApp_Logo_1.png"</span> alt<span class="sy0">=</span><span class="st0">"WhatsApp Logo"</span> height<span class="sy0">=</span><span class="st0">"60px"</span><span class="sy0">></span>
        <span class="sy0"><</span>input type<span class="sy0">=</span><span class="st0">"checkbox"</span> name<span class="sy0">=</span><span class="st0">"agree"</span> value<span class="sy0">=</span><span class="st0">"1"</span><span class="sy0">></span>
        I want to receive notifications on my WhatsApp<span class="sy0">.</</span>p<span class="sy0">></span>
      <span class="sy0"><</span>p<span class="sy0">><</span>label <span class="kw1">for</span><span class="sy0">=</span><span class="st0">"name"</span><span class="sy0">></span>Name<span class="sy0">:</</span>label<span class="sy0">><</span>input type<span class="sy0">=</span><span class="st0">"text"</span> id<span class="sy0">=</span><span class="st0">"name"</span> name<span class="sy0">=</span><span class="st0">"name"</span> value<span class="sy0">=</span><span class="st0">""</span><span class="sy0">></</span>p<span class="sy0">></span>
      <span class="sy0"><</span>p<span class="sy0">><</span>label <span class="kw1">for</span><span class="sy0">=</span><span class="st0">"phone"</span><span class="sy0">></span>Phone<span class="sy0">:</</span>label<span class="sy0">><</span>input type<span class="sy0">=</span><span class="st0">"text"</span> id<span class="sy0">=</span><span class="st0">"phone"</span> name<span class="sy0">=</span><span class="st0">"phone"</span> placeholder<span class="sy0">=</span><span class="st0">"+420123456789"</span> value<span class="sy0">=</span><span class="st0">""</span><span class="sy0">></</span>p<span class="sy0">></span>
      <span class="sy0"><</span>input type<span class="sy0">=</span><span class="st0">"submit"</span><span class="sy0">></span>
<span class="sy0"></</span>form<span class="sy0">></span></pre></div>
On submit, the form will send a POST request to the endpoint called /optin.
2. In this case, you must serve the form as a static file in server.js, which you can route as follows:
<div class="geshifilter"><pre class="php geshifilter-php">app<span class="sy0">.</span><span class="kw2">use</span><span class="br0">(</span>express<span class="sy0">.</span>static<span class="br0">(</span><span class="st_h">'static'</span><span class="br0">)</span><span class="br0">)</span><span class="sy0">;</span></pre></div>When a browser requests a GET on the root address, it will be served index.html from the static directory.
3. Set up the endpoint for opt-in submission in server.js. Add a require of the file api/form.js at the beginning:
<div class="geshifilter"><pre class="php geshifilter-php"><span class="kw2">const</span> optin <span class="sy0">=</span> <span class="kw1">require</span><span class="br0">(</span><span class="st_h">'./api/form.js'</span><span class="br0">)</span></pre></div>And route it to handle the form submission:
<div class="geshifilter"><pre class="php geshifilter-php">app<span class="sy0">.</span>post<span class="br0">(</span><span class="st0">"/optin"</span><span class="sy0">,</span> optin<span class="br0">)</span><span class="sy0">;</span></pre></div>4. Now you need to adapt the message template in the file api/form.js to your template.
Hint: The message template is defined in the sendMessage constant.
5. Time to collect your first opt-in!
Refresh the page in your browser and Voila! You should see the opt-in form.

Fill in your name and your testing customer phone number and hit the Submit button.
Now as confirmation for both parties, a new email with the opt-in should have appeared in your mailbox and your testing customer’s WhatsApp should have received the welcome message. Brilliant, isn’t it?
Step Three: Receive a message to your mailbox
Let’s continue with forwarding of incoming messages delivered by tyntec API to your admin email.
1. Set up the endpoint for incoming messages in server.js. Add a require of the file api/incoming.js at the beginning:
<div class="geshifilter"><pre class="php geshifilter-php"><span class="kw2">const</span> incoming <span class="sy0">=</span> <span class="kw1">require</span><span class="br0">(</span><span class="st_h">'./api/incoming.js'</span><span class="br0">)</span></pre></div>And route it to handle tyntec callbacks to deliver incoming messages:
<div class="geshifilter"><pre class="php geshifilter-php">app<span class="sy0">.</span>post<span class="br0">(</span><span class="st0">"/incoming"</span><span class="sy0">,</span> incoming<span class="br0">)</span><span class="sy0">;</span></pre></div>2. Now you need to update the tyntec API with the new callback URL via Postman. This is described in detail in the Receiving Messages Tutorial, except you will use the ngrok address instead of a Glitch address in the request body, e.g. https://ab12c3de.ngrok.io/incoming.
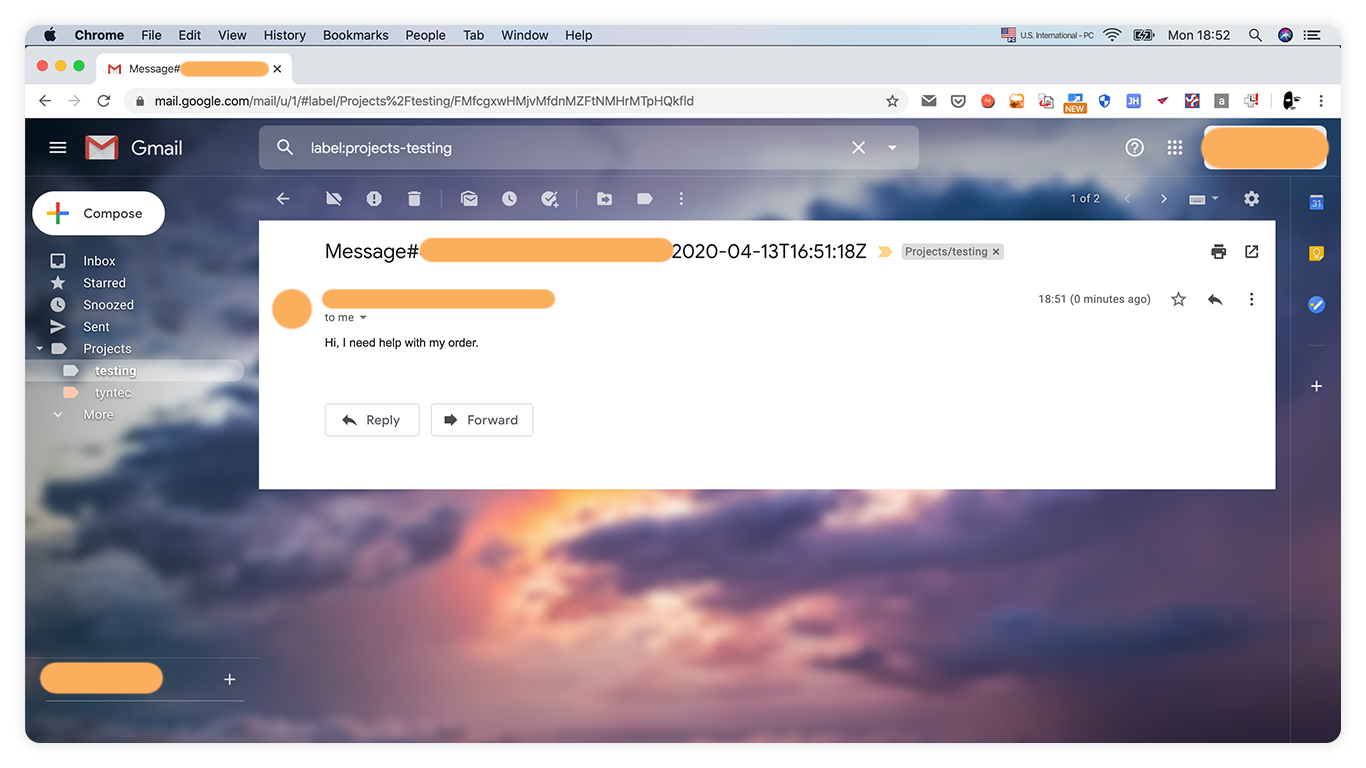
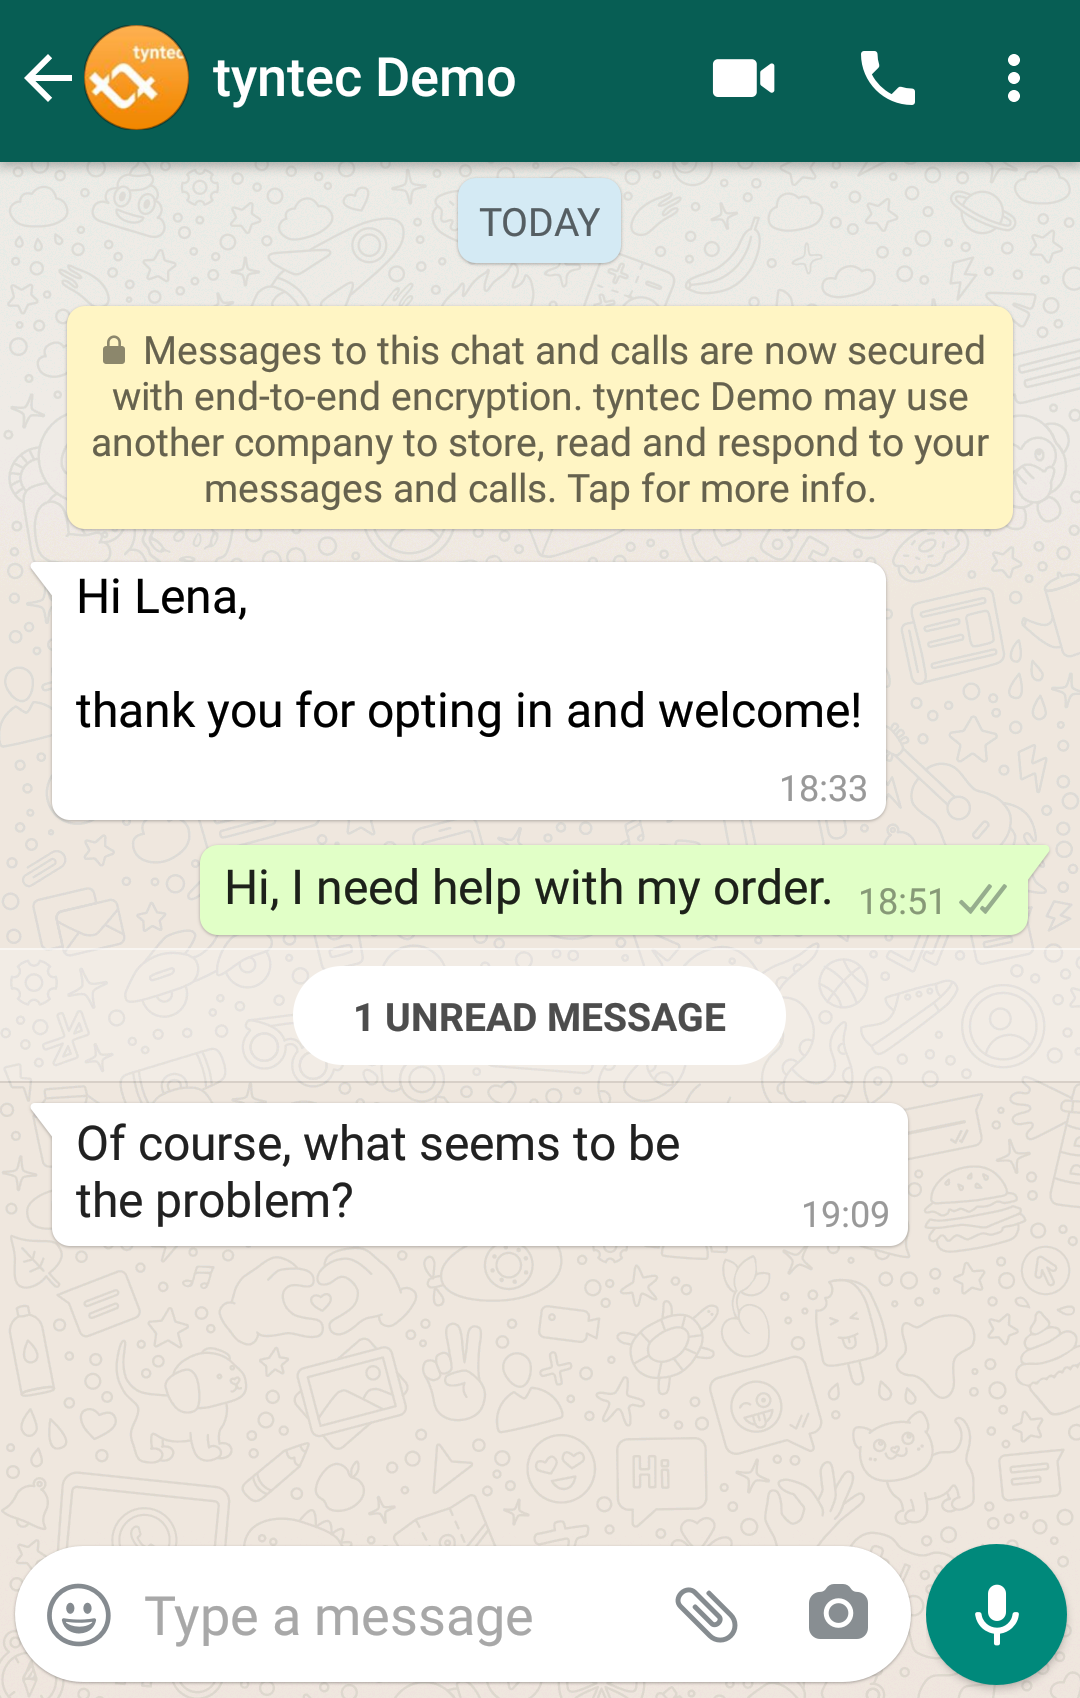
3. And guess what, it’s test time again! Be a nice testing customer, grab your phone and send a cool WhatsApp message to your WABA number.
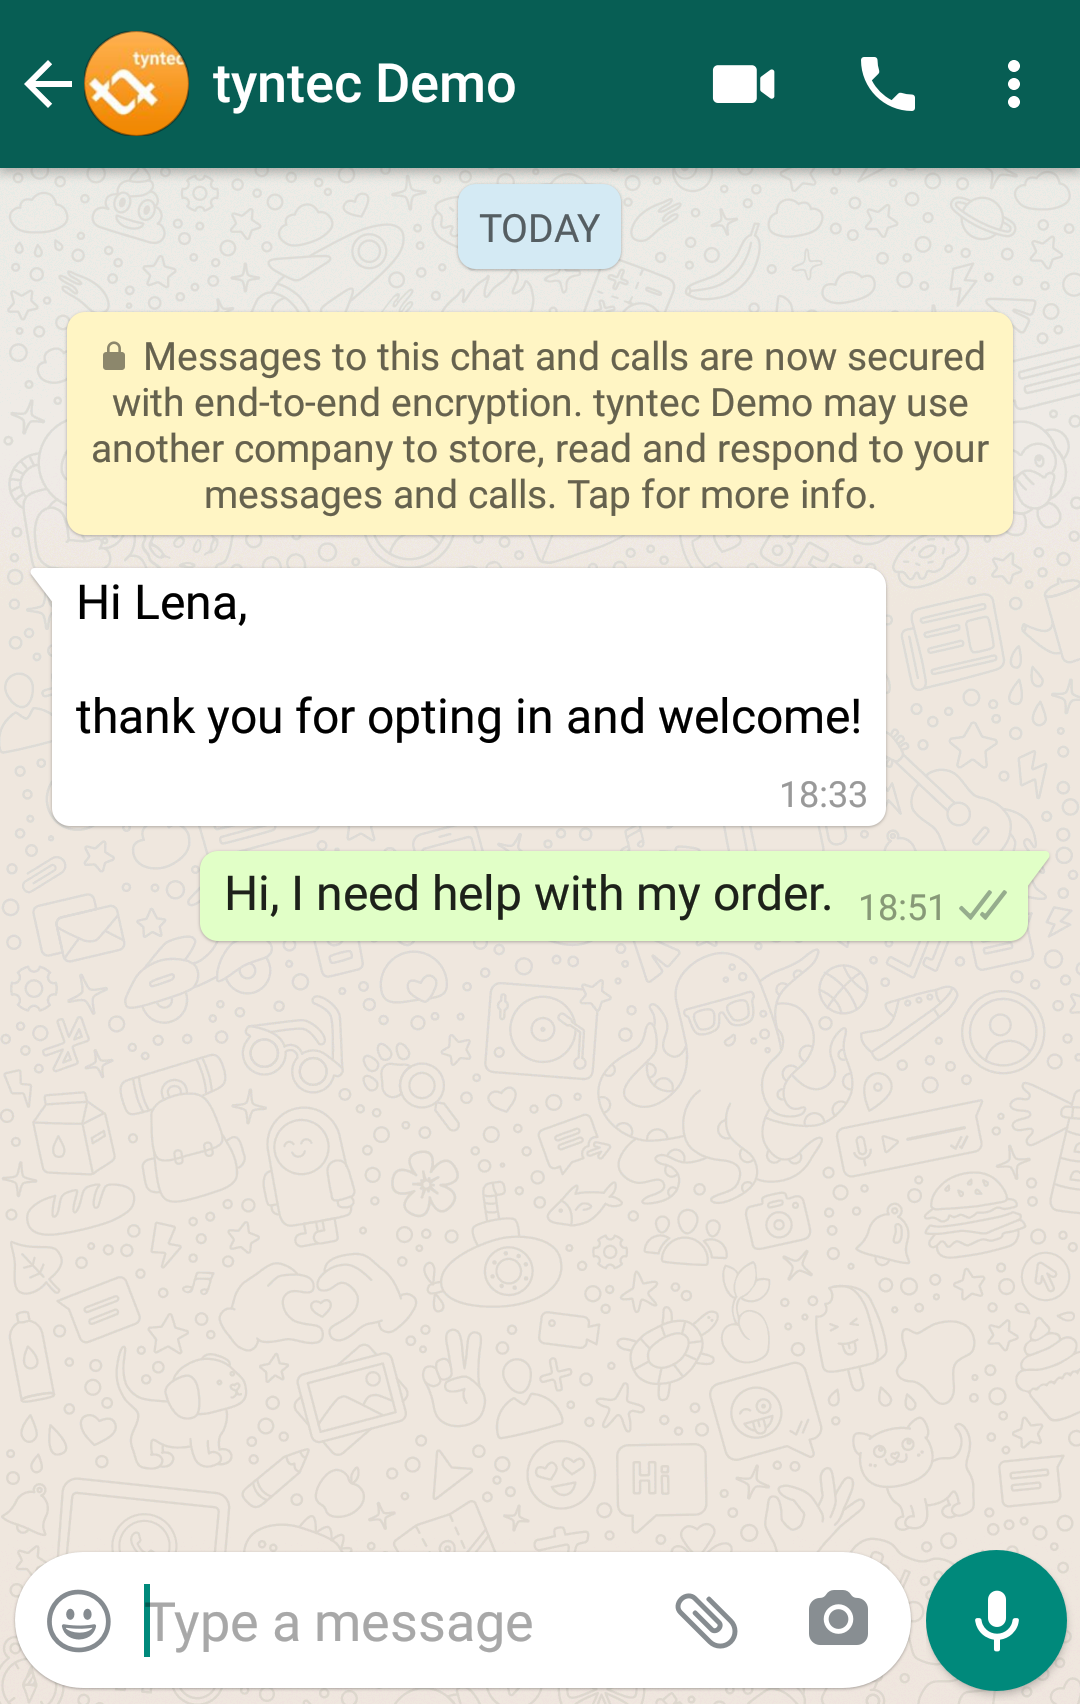
Voila! You should have it in your mailbox.
Step Four: Respond from your mailbox
Now the most exciting part! Let’s bridge your email response to the tyntec API and to the customer, consequently.
1. Set up an endpoint for mail fetching. Add a require of the file api/fetch.js at the beginning of server.js:
<div class="geshifilter"><pre class="php geshifilter-php"><span class="kw2">const</span> mailfetch <span class="sy0">=</span> <span class="kw1">require</span><span class="br0">(</span><span class="st_h">'./api/fetch.js'</span><span class="br0">)</span></pre></div>And route it to handle response forwarding:
<div class="geshifilter"><pre class="php geshifilter-php">app<span class="sy0">.</span>get<span class="br0">(</span><span class="st0">"/mailfetch"</span><span class="sy0">,</span> mailfetch<span class="br0">)</span><span class="sy0">;</span></pre></div>2. Your favourite test time! Let’s try to respond. In your mailbox, reply to the forwarded customer’s message as if you were replying to a usual email. And send it.
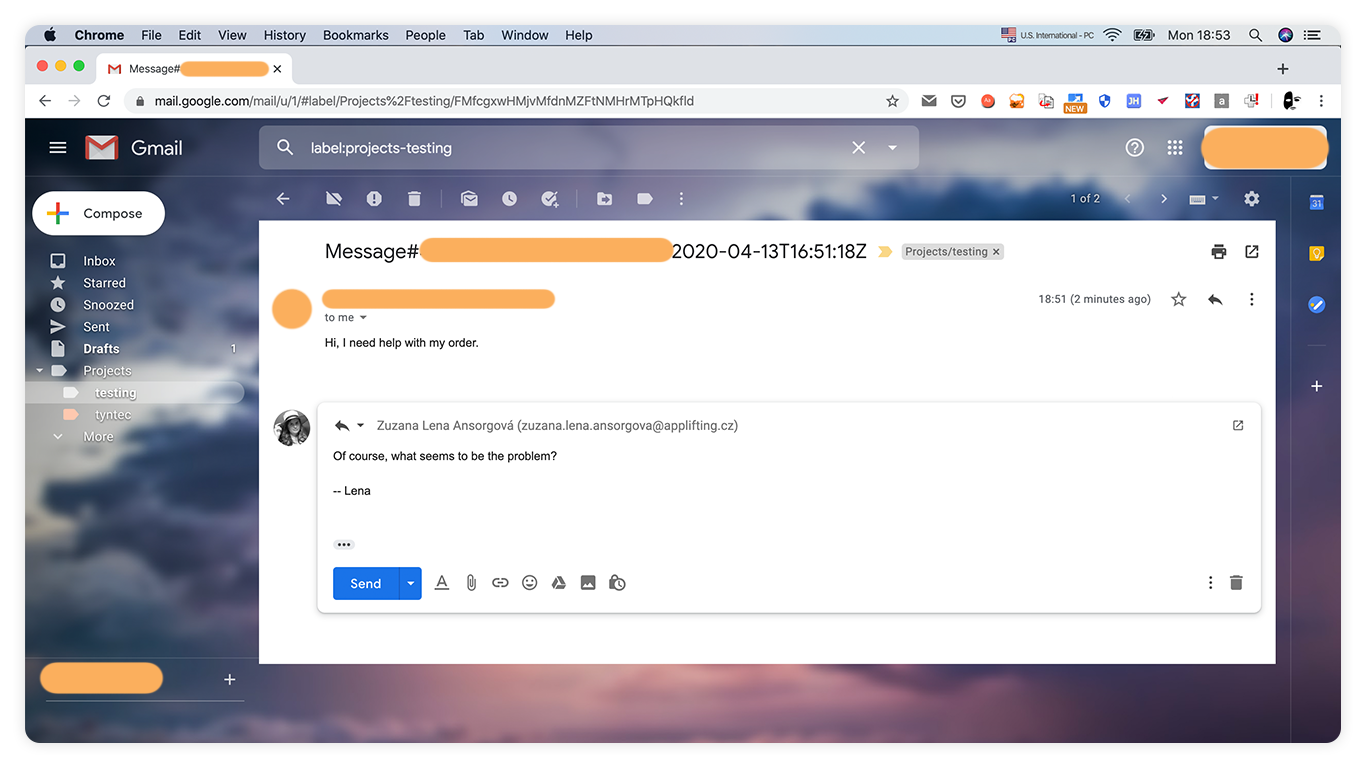
Voila? Nothing is happening? That is alright, you need to call the mailfetch endpoint first, that will do the forwarding.
Open the mailfetch endpoint in your browser, e.g. https://ab12c3de.ngrok.io/mailfetch
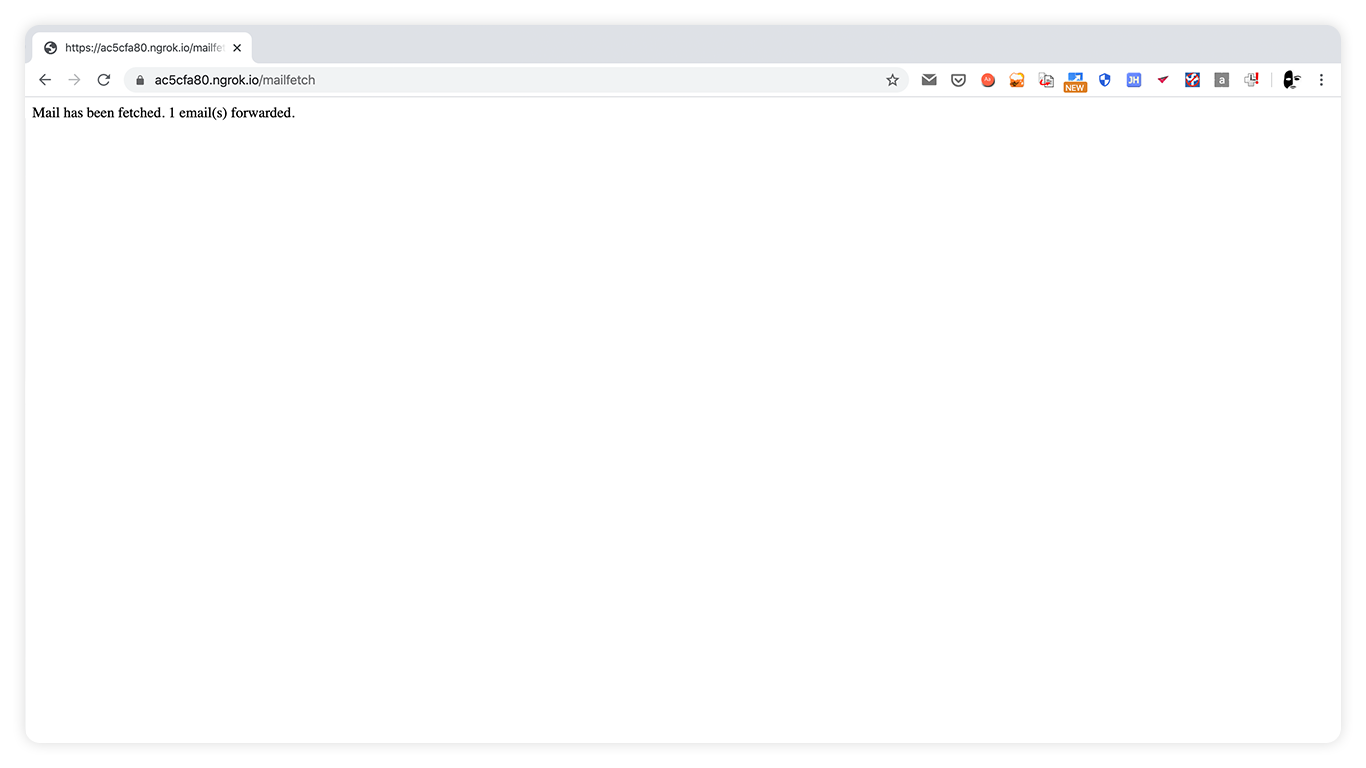
Now you should have got it. Finally!
Tip: You may use Zapier integration to call the mailfetch automatically when your service email receives a reply from your admin email.